SceneKit: first steps — Part 1: Just a box
Background
In the spirit of #showyourwork, and learning in the open, I’ve decided to document my journey as I teach myself about SceneKit on iOS and OS X, and modern 3D APIs.
Early 1980s
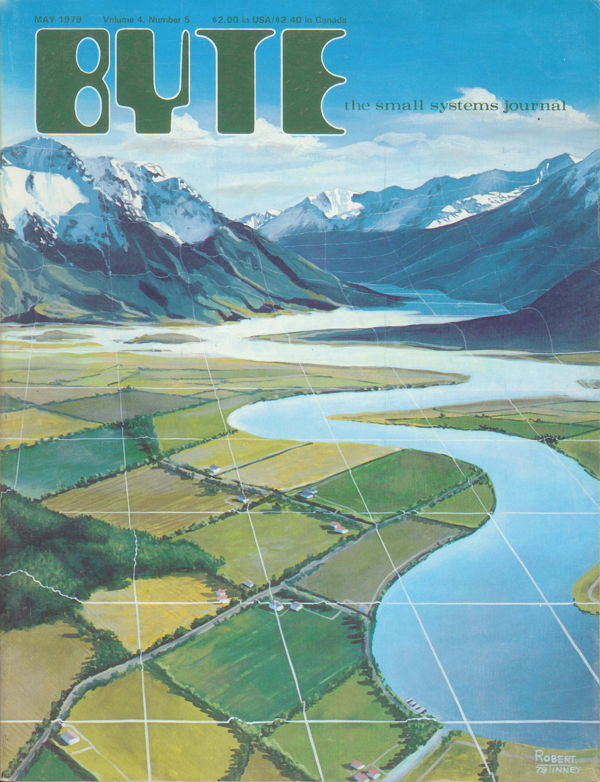
My first foray into 3D was sometime in the early 1980s, when I played with drawing a 3D model of the earth. My inspiration was most likely Robert Tinney’s cover for the May 1979 issue of BYTE magazine:
Unfortunately inspiration didn’t equal reality on my home-brewed TRS-80 clone. Its 128×48 graphics mode was a bit limiting, and state-of-the-art 3D on that platform looked like subLogic Flight Simulator:
Mid 1990s
In the mid 1990s I was experimenting with projecting from 3D to 2D, then drawing directly to Windows’ GDI API. Later, I played around with Microsoft’s WinG API, then Direct3D.
Early 2000s
By about 2000, my inspiration was the movie Toy Story, and the game Train Simulator (fuelled by my then two-year-old son’s train obsession). I still have a bunch of books with titles like OpenGL Programming Guide (the “red book”), Advanced RenderMan, Real-Time Rendering, and Advanced Animation and Rendering Techniques.
At the time I played around with modelling the front of a locomotive, in code, and rendering it with OpenGL.
Now
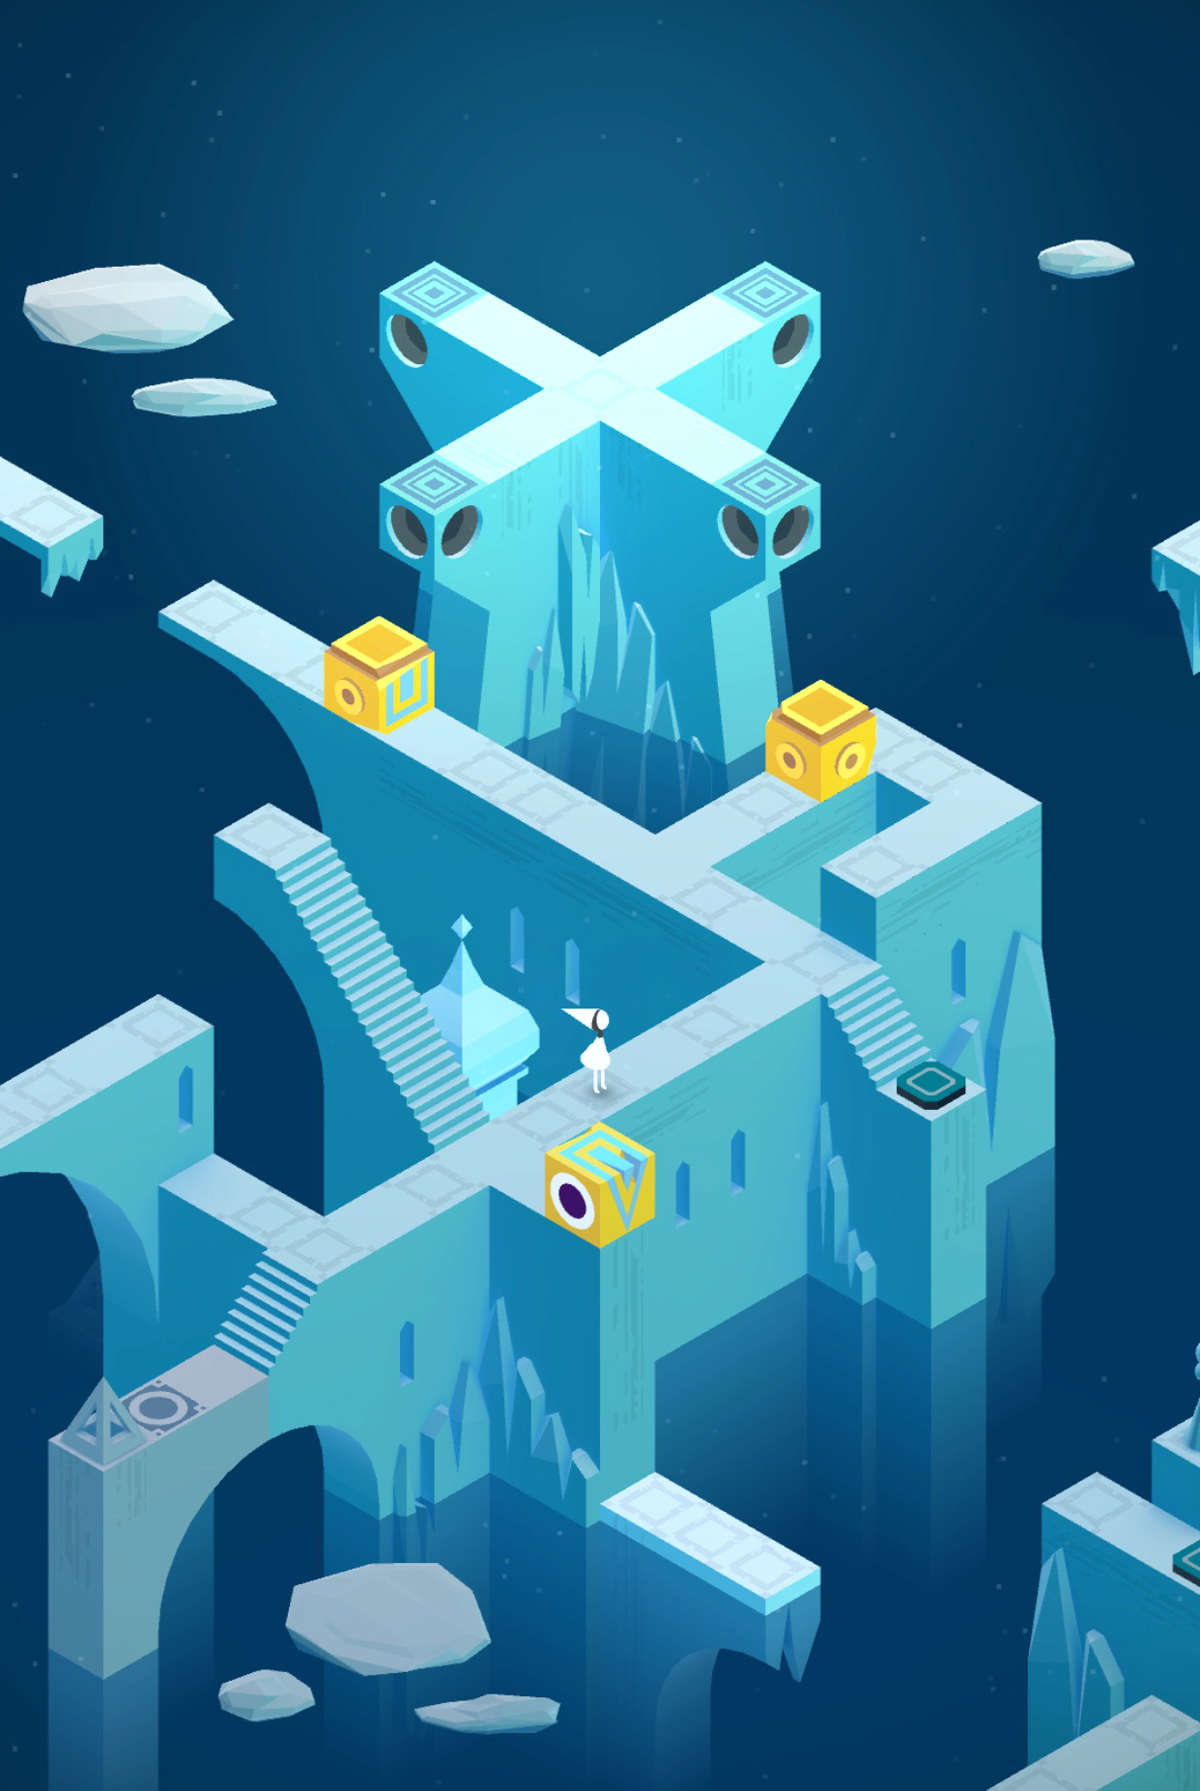
Today’s inspiration are games like The Witness and Monument Valley:

Getting started
Enough history. Let’s get started!
Through this series, I’m being guided by Apple’s SceneKit documentation, David Rönnqvist’s SceneKit article from objc.io, and his excellent iBooks book 3D Graphics with Scene Kit.
I’ll be doing all of these steps in a simple single-view application. The scene is presented in an SCNView that completly covers the app’s main view. The SCNView from the storyboard is accessed through an @IBOutlet called sceneView. The complete listing for the view controller can be found at the bottom of this post.
An empty scene
The first step is to create an empty scene. Note that I set the scence view’s background color to black, for that super-spooky look (and to make sure that the simple lighting looks realistic). I also get a reference to the scene’s root node, as a convenience for later:
let scene = SCNScene()
sceneView.scene = scene
sceneView.debugOptions = [] // [.ShowLightExtents, .ShowBoundingBoxes]
sceneView.backgroundColor = UIColor.blackColor()
sceneView.allowsCameraControl = true  // allow dragging the camera around
let rootNode = scene.rootNode
An actor
Next up we need something to look at. In this first test, it’s going to be a 1 × 1 × 1 cube with rounded edges. SceneKit provides the SCNBox class which creates some geometry in the shape of a rounded box. Add one of those to a node, and add that node to the root node of the scene, and we have our boxy actor:
func createBoxNode() -> SCNNode {
    // make a 1×1×1 box
    let box = SCNBox(width: 1, height: 1, length: 1, chamferRadius: 0.1)
    let boxNode = SCNNode(geometry: box)
    return boxNode
}

…

let boxNode = createBoxNode()
rootNode.addChildNode(boxNode)
Camera
At this point the scene will render, but with a default light and camera. The position of the default camera means that the cube will fill the entire viewport. To fix that we need our own camera.
func createCameraNode(lookingAt target: SCNNode) -> SCNNode {
    let lookAt = SCNLookAtConstraint(target: target)
    lookAt.gimbalLockEnabled = true

    let camera = SCNCamera()
    camera.xFov = 60.0;

    let cameraNode = SCNNode()
    cameraNode.camera = camera
    cameraNode.constraints = [lookAt]
    return cameraNode
}

…

let cameraNode = createCameraNode(lookingAt: boxNode)
cameraNode.position = SCNVector3(x: 2, y: 1.5, z: 2.5)
rootNode.addChildNode(cameraNode)
Here I’ve setup a camera with a field-of-view of 60º in the x-axis (xFov), a constraint that keeps the camera looking at the box, and with gimbal-lock enabled to keep the horizon level if the camera moves.
With the camera moved into place, here’s what we can see (remember that we’re still using the default light source):
Lights
So, things don’t look great with the default lighting. Let’s replace the defaults with our own light:
func createOmniDirectionalLightNode() -> SCNNode {
    let omniLight = SCNLight()
    omniLight.type = SCNLightTypeOmni
    omniLight.color = UIColor.init(red: 1, green: 0.75, blue: 0.75, alpha: 1)
    omniLight.attenuationStartDistance = 1;
    omniLight.attenuationEndDistance = 10;

    let omniLightNode = SCNNode()
    omniLightNode.light = omniLight
    return omniLightNode
}

…

let omniLightNode = createOmniDirectionalLightNode()
omniLightNode.position = SCNVector3(x: 1, y: 1.5, z: 1)
rootNode.addChildNode(omniLightNode)
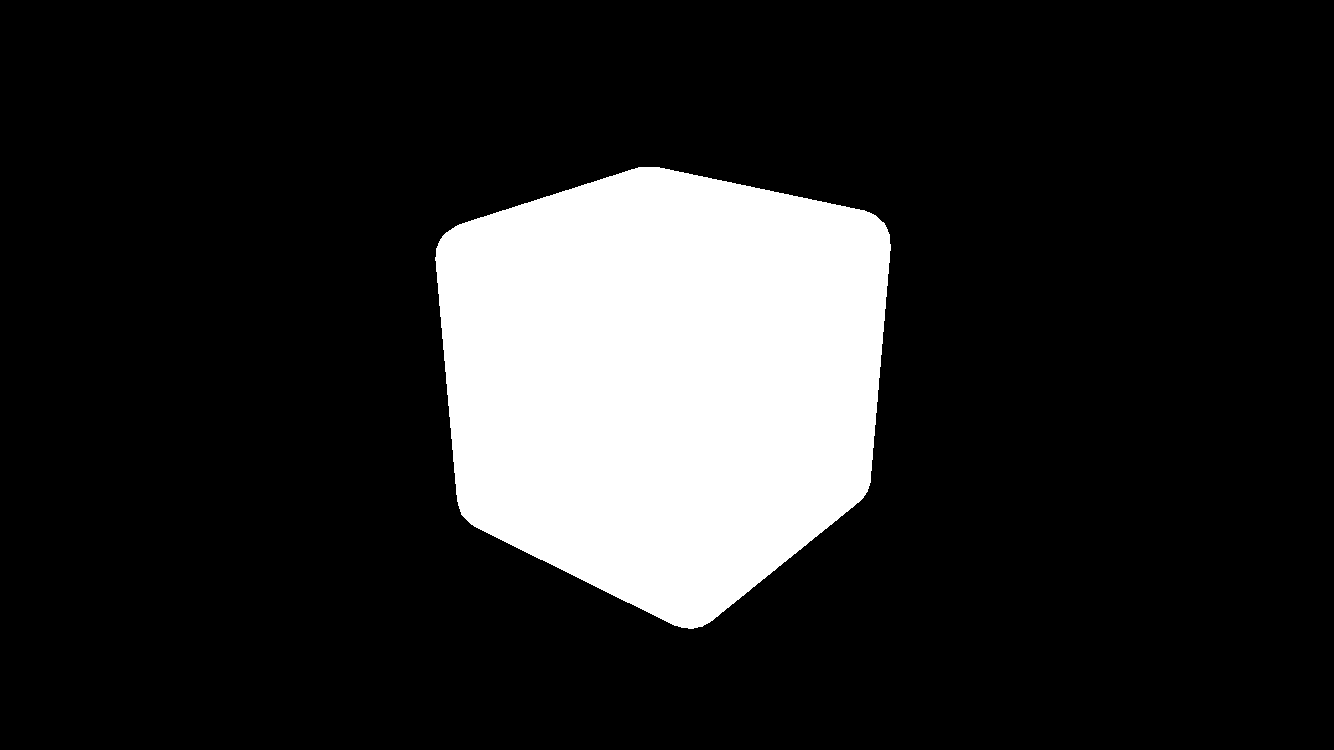
I’ve placed a light pink (rose gold!) omnidirectional light to the right, above, and in-front of the box. I’ve also used attenuationStartDistance and attenuationEndDistance to make sure that the brightness falls off with distance from the light. Here’s what it looks like now:
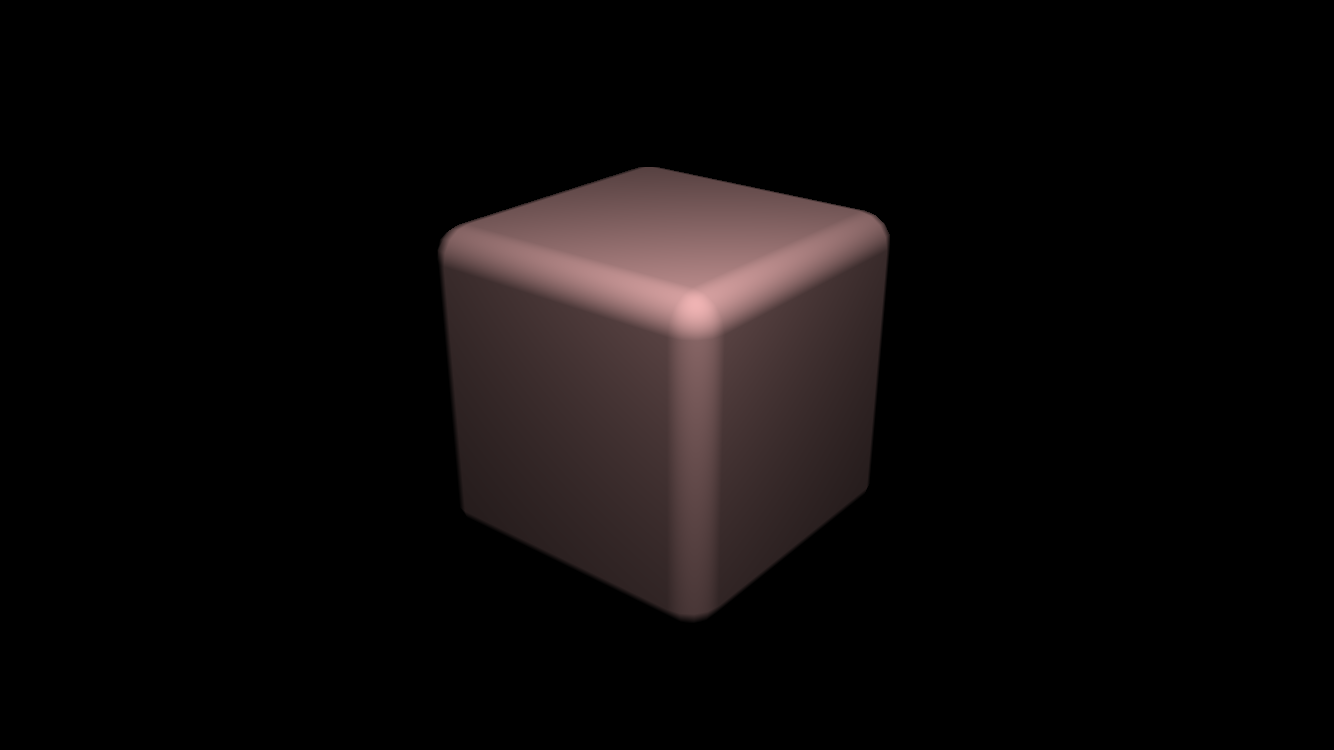
The cube is starting to look better, but some better materials and texture could definitely spruce things up. Next time I’ll look at adding some of those.
ViewController.swift
class ViewController: UIViewController {
    @IBOutlet weak var sceneView: SCNView!

    override func viewDidLoad() {
        super.viewDidLoad()

        // create a brand-new scene
        let scene = SCNScene()
        let rootNode = scene.rootNode

        let boxNode = createBoxNode()
        rootNode.addChildNode(boxNode)

        let omniLightNode = createOmniDirectionalLightNode()
        omniLightNode.position = SCNVector3(x: 1, y: 1.5, z: 1)
        rootNode.addChildNode(omniLightNode)

        let cameraNode = createCameraNode(lookingAt: boxNode)
        cameraNode.position = SCNVector3(x: 2, y: 1.5, z: 2.5)
        rootNode.addChildNode(cameraNode)

        sceneView.pointOfView = cameraNode
        sceneView.scene = scene
    }

    func createBoxNode() -> SCNNode {
        // make a 1x1x1 box
        let box = SCNBox(width: 1, height: 1, length: 1, chamferRadius: 0.1)

        let boxNode = SCNNode(geometry: box)
        return boxNode
    }

    func createOmniDirectionalLightNode() -> SCNNode {
        let omniLight = SCNLight()
        omniLight.type = SCNLightTypeOmni
        omniLight.color = UIColor.init(red: 1, green: 0.75, blue: 0.75, alpha: 1)
        omniLight.attenuationStartDistance = 1;
        omniLight.attenuationEndDistance = 10;

        let omniLightNode = SCNNode()
        omniLightNode.light = omniLight
        return omniLightNode
    }

    func createCameraNode(lookingAt target: SCNNode) -> SCNNode {
        let lookAt = SCNLookAtConstraint(target: target)
        let camera = SCNCamera()

        let cameraNode = SCNNode()
        cameraNode.camera = camera
        cameraNode.constraints = [lookAt]
        return cameraNode
    }
}